If you’re a designer who wants to prototype connected, interactive objects, Arduino is still one of the best places to start. It’s affordable, well documented, forgiving of mistakes, and fast enough to go from an idea to something you can hold in an afternoon. The trick is to prototype the experience first and treat the electronics as a sketching tool, not an engineering exam.
I came to hardware as a designer, not an engineer. My background is in visual communication and dynamic media, and I learned most of this while building the pieces in my MFA thesis, including Huggables, and during my crossover registration in Sensor Technologies for Interactive Environments at MIT. This is the field guide I wish I’d had at the start.
What you need to get started
You don’t need a lab. A small, sensible kit covers most early prototypes:
- A microcontroller board. An Arduino Uno is great for learning. For connected projects, boards with built-in Wi-Fi or Bluetooth (such as ESP32-based boards, which can be programmed from the Arduino IDE) save you a lot of wiring.
- A breadboard and jumper wires for building circuits without soldering.
- A handful of inputs: buttons, a potentiometer, a light sensor, a pulse or touch sensor, an accelerometer.
- A handful of outputs: LEDs, a small servo, a vibration motor, a buzzer.
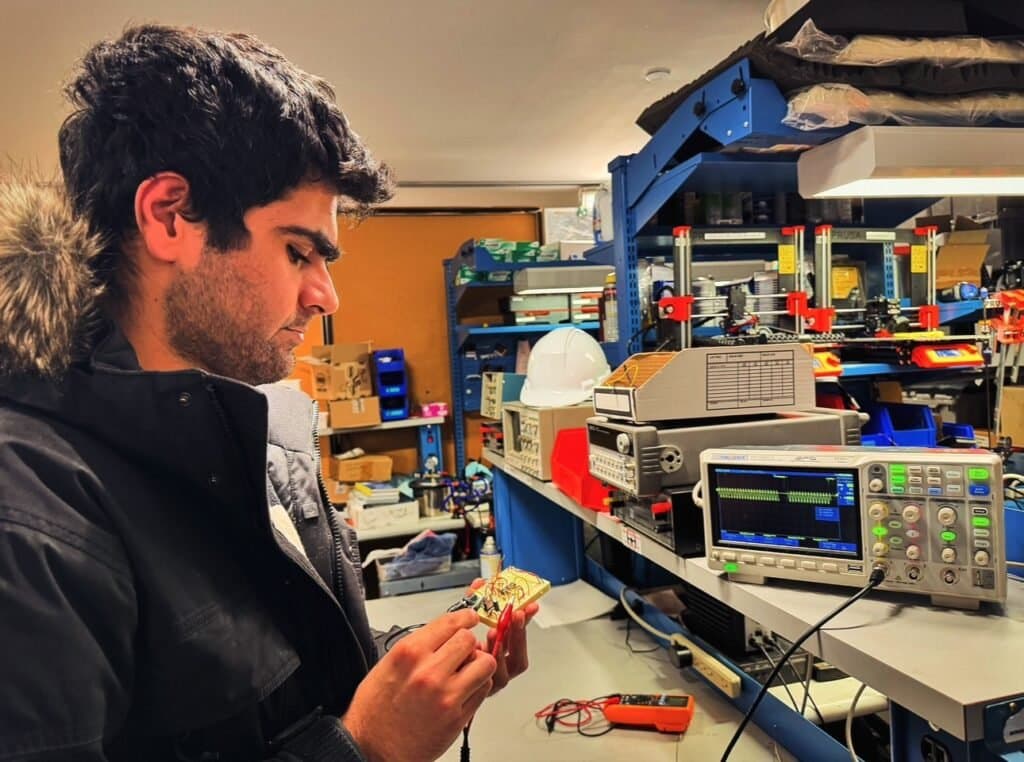
- Basic parts: resistors, a USB cable, and a multimeter once you get serious.
Motors, heaters and anything drawing real current need their own power supply and usually a transistor or driver board. Don’t power them straight from the Arduino’s pins.
Step 1: Write the interaction before the circuit
Before wiring anything, describe what should happen in one or two sentences. “When I squeeze this, a light across the room gently pulses.” Then break it into three parts: what is sensed, what is decided, and what is expressed.
That simple input, logic, output structure maps directly onto how Arduino code is written, and it keeps you honest. If you can’t describe the interaction clearly, no sensor will fix it. The same principle applies to software and AI projects too, which is something I come back to in why most small businesses don’t need AI (yet): define the process before you add technology.
Step 2: Get one sensor talking
Start with a single input and print its values to the Serial Monitor. Watch how it behaves when you touch it, move it, cover it or leave it alone. Real sensors are noisy, and learning their personality early saves hours later.
Here’s a simplified example that reads an analog sensor, smooths the noise, and fades an LED with the result. It’s a generic teaching sketch, not code from my thesis pieces.
// Simplified example: smooth an analog sensor and fade an LED
const int SENSOR_PIN = A0;   // any analog sensor
const int LED_PIN = 9;       // must be a PWM pin
float smoothed = 0;          // running average

void setup() {
  pinMode(LED_PIN, OUTPUT);
  Serial.begin(9600);
}

void loop() {
  int raw = analogRead(SENSOR_PIN);          // 0 to 1023
  smoothed = smoothed * 0.9 + raw * 0.1;     // simple low-pass filter
  int brightness = map((int)smoothed, 0, 1023, 0, 255);
  analogWrite(LED_PIN, brightness);

  Serial.println(smoothed);                  // watch it in the Serial Plotter
  delay(10);
}
The smoothing line is the part designers often skip. Without it, outputs flicker and jitter, and an interaction that should feel calm feels broken.
Step 3: Make it feel right, not just work
Once the signal is reliable, the design work begins. This is where I spend most of my time on any tangible project.
Thresholds and debouncing
Buttons “bounce” electrically, registering several presses in a few milliseconds. Sensors hover around a threshold and trigger repeatedly. Debouncing (ignoring changes for a short window) and hysteresis (using a higher threshold to turn on than to turn off) make interactions feel intentional.
Easing and timing
Linear motion looks robotic. Easing servos in and out, adding short pauses, and ramping lights up gradually make an object feel alive. In Huggables, gentle breathing motion mattered as much as the heartbeat itself.
Avoid blocking code
Beginners lean on delay(), which freezes everything else. As soon as you have more than one thing happening, switch to timing with millis() so the device can sense and respond at the same time.
Step 4: Connect it (the “IoT” part)
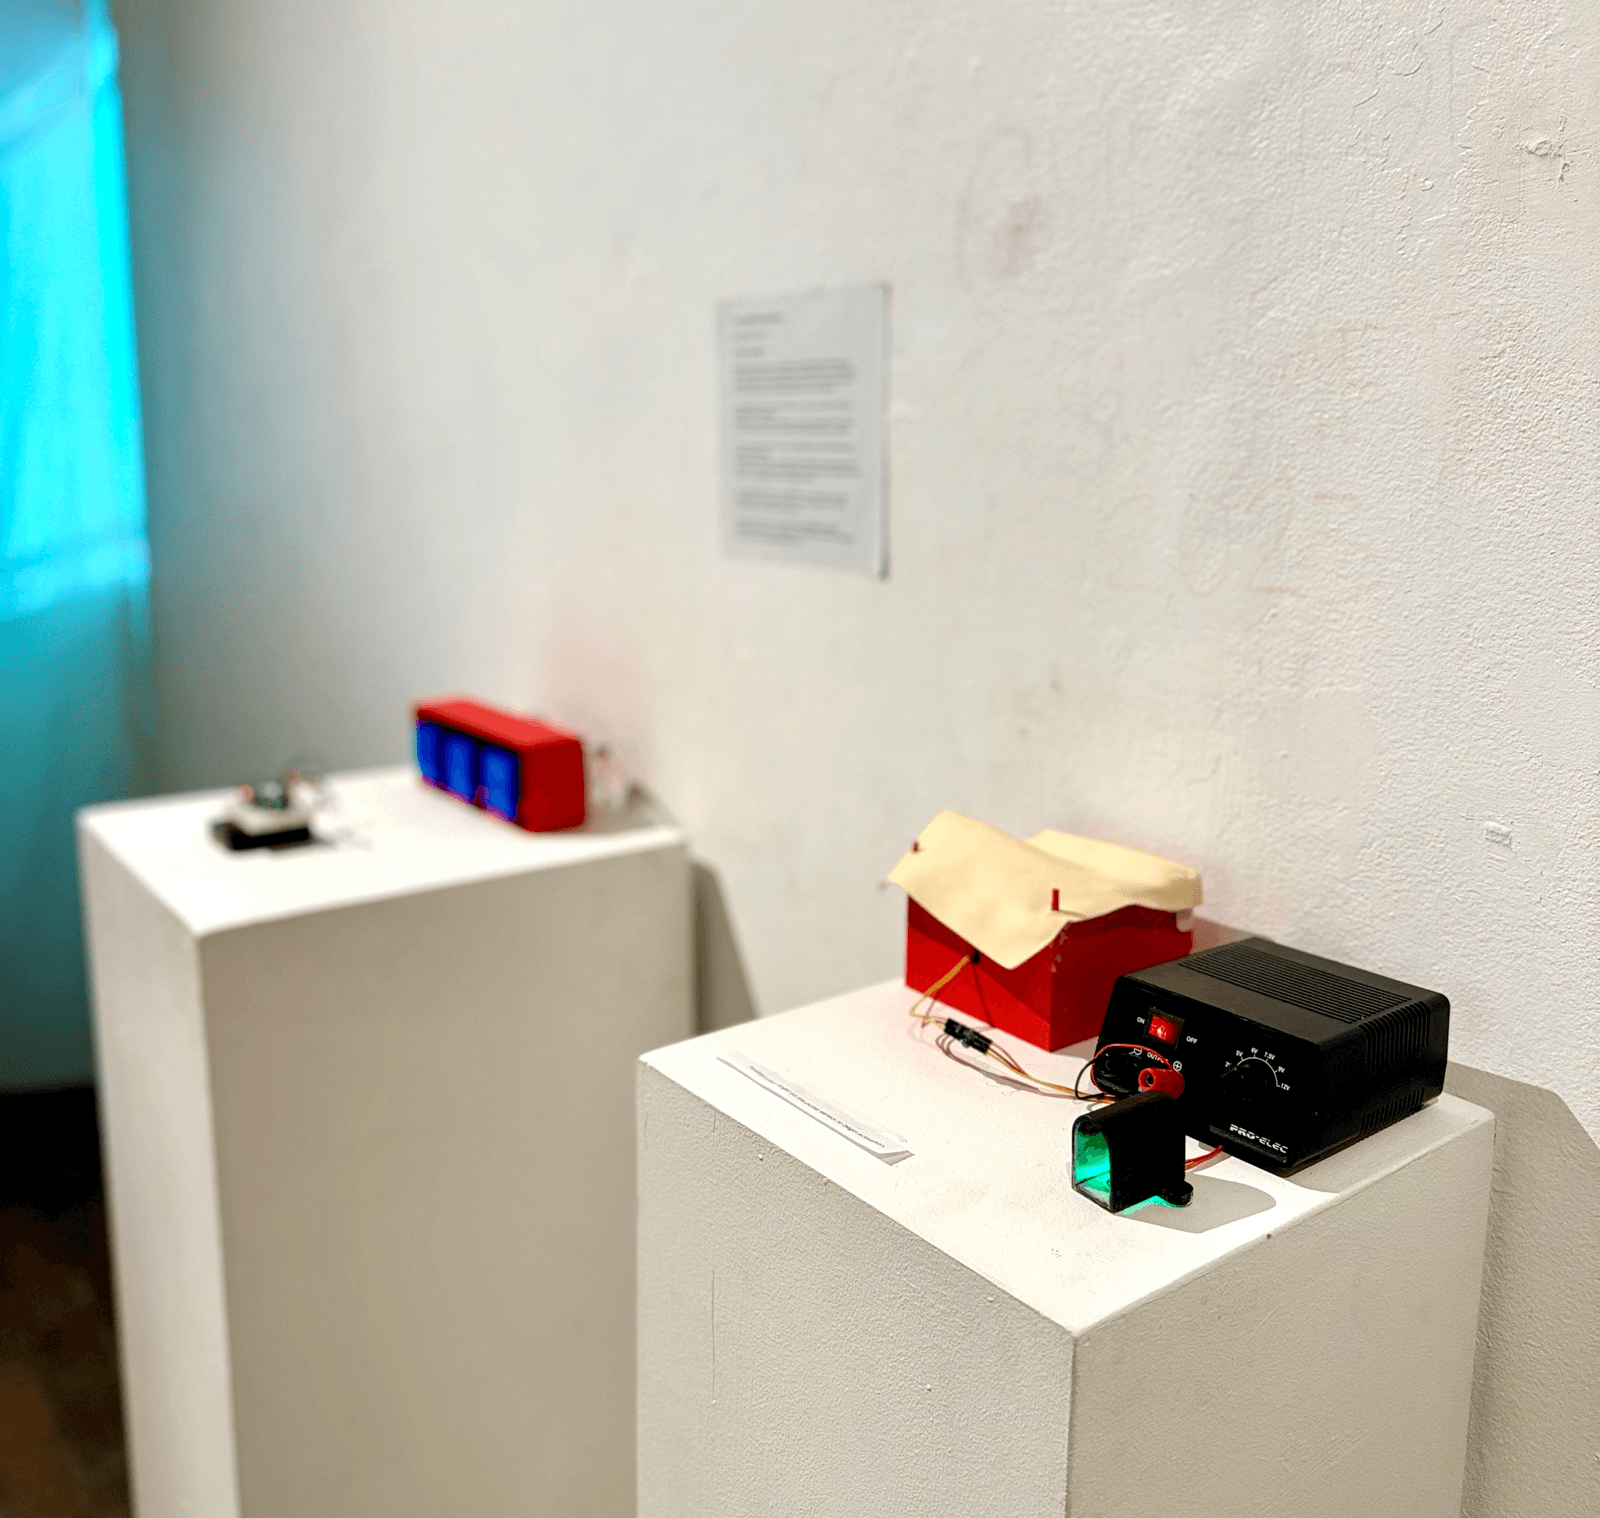
Things get interesting when two objects talk to each other. Several of my thesis pieces depended on this. In Digital Embodiment, a motion-tracking wristband worn far away moves three cubes on a homing beacon at home. In Pulse Paint, pulse sensors turn two people’s heartbeats into shared brushstrokes.
For prototypes, you have a few common options:
- Serial over USB to a laptop, which then relays data. Simple and great for gallery setups.
- Bluetooth Low Energy for short-range, low-power links to a phone or another device.
- Wi-Fi with a lightweight protocol such as MQTT or WebSockets through a broker or small server, for devices in different places.
Design for failure from day one. Connections drop. Decide what the object does when it loses its partner: freeze, fade to a resting state, or show a gentle “waiting” signal. A graceful offline state is part of the experience, and it matters a lot when the object is carrying something as personal as a heartbeat.
Step 5: Move from breadboard to object
A prototype on a breadboard proves the idea. A prototype in a form proves the experience. For Digital Embodiment I used 3D printing for enclosures, and for Huggables most of the work was in soft materials. Some practical tips:
- Sketch the enclosure around the components, and leave room for cables, batteries and airflow.
- Move from breadboard to soldered perfboard before anything travels or gets handled by strangers.
- Add strain relief to cables so a pull doesn’t rip out a connection.
- Label everything. You will forget which wire is which by next week.
- Keep heat, batteries and moving parts safely isolated from skin and fabric.
Step 6: Test with people, then iterate
The fastest way to learn what’s wrong with an interactive object is to hand it to someone and stay quiet. People will press where you didn’t expect, ignore the feature you’re proudest of, and discover something delightful by accident. Exhibiting work in Boston galleries taught me more about my prototypes than any bench test.
Write down what surprised you, change one thing, and test again. That loop, not the choice of board, is what turns a clever circuit into something people care about.
From prototype to real product
An Arduino prototype is a question, not a finished answer. Turning it into a product brings new concerns: custom circuit boards, power management, certification, security and privacy for connected data, and manufacturing. That’s normal. The prototype’s job is to prove the experience is worth building.
If you’re curious how a designer ended up building sensor-driven objects, the story is on my journey page. And if you have an idea for a connected device, an interactive installation or an IoT prototype, tell me about it. I’m happy to help you get from sketch to something you can hold. You can also see my broader work in the portfolio.